
How to Replace a GFCI Outlet in Temecula Homes – A Step‑by‑Step Guide
By Orlando Martinez · October 18, 2026 · 5 min read
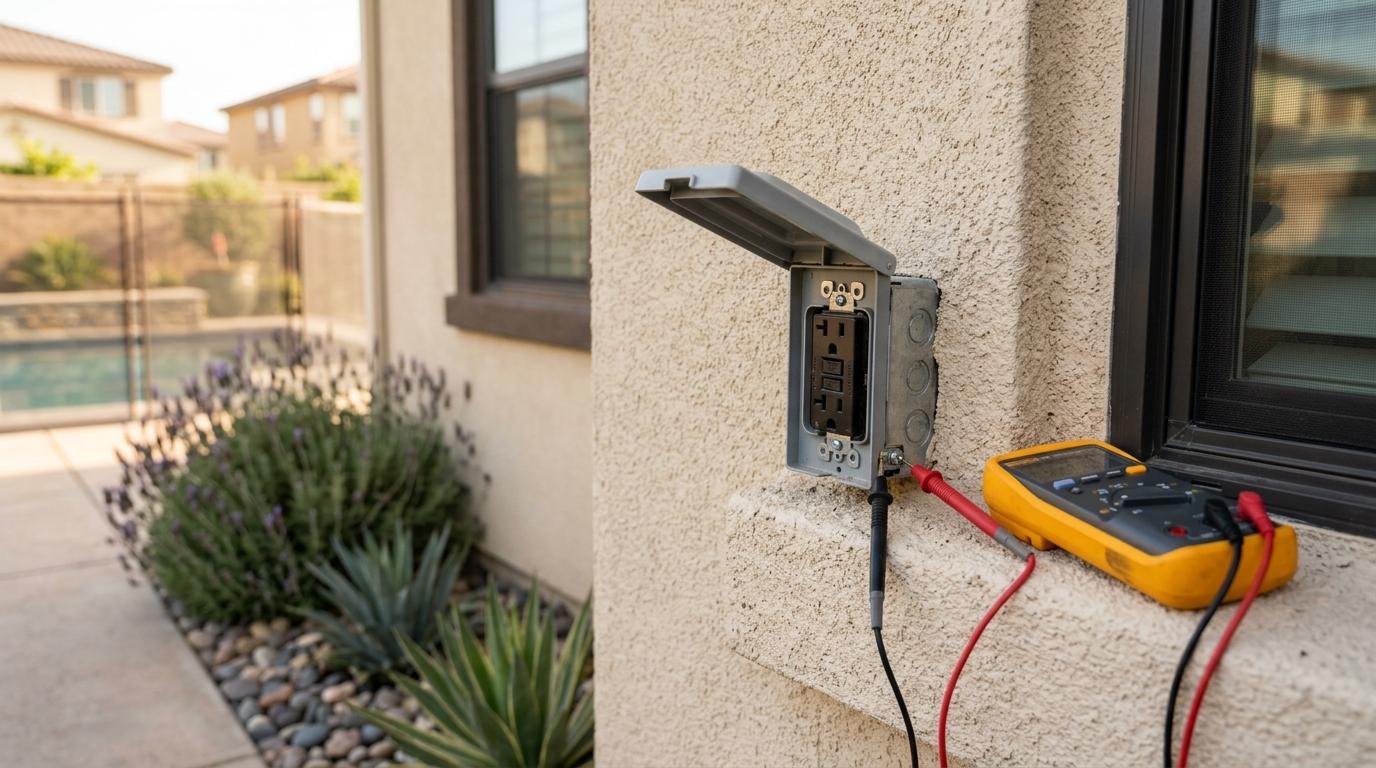
Temecula’s sunny climate and the popularity of backyard pools mean the outdoor outlets in many homes see more moisture than a typical interior socket. A homeowner in the Wine Country recently called Marine One Property Inspections after a GFCI tripped repeatedly during a summer barbecue. The problem? A worn‑out GFCI plug that needed a quick, safe replacement. If you’ve found yourself in a similar spot—whether the outlet is by a pool, a hot tub, or a garage door opener—this guide shows you how to replace it without calling an electrician for a simple swap, while still respecting the safety standards that protect your family and your home.
Why GFCI Protection Matters in Temecula
The local upside of a GFCI
- Moisture exposure – Our summer monsoons can drive water into outdoor receptacles, especially those near irrigation systems or pool equipment.
- High‑draw appliances – Power tools, pool pumps, and electric vehicle chargers all pull a lot of current, increasing the chance of a ground‑fault event.
- Code compliance – California Electrical Code (CEC) requires GFCI protection for any outlet within 6 feet of a water source, which includes most of the outdoor patios and decks in Temecula subdivisions.
A functioning GFCI shuts off power the instant it detects a leak to ground, preventing electric shock. When the device fails, it’s not just an inconvenience; it’s a safety gap. Replacing a tripped or faulty GFCI is a straightforward DIY task, but it must be done with the right precautions.
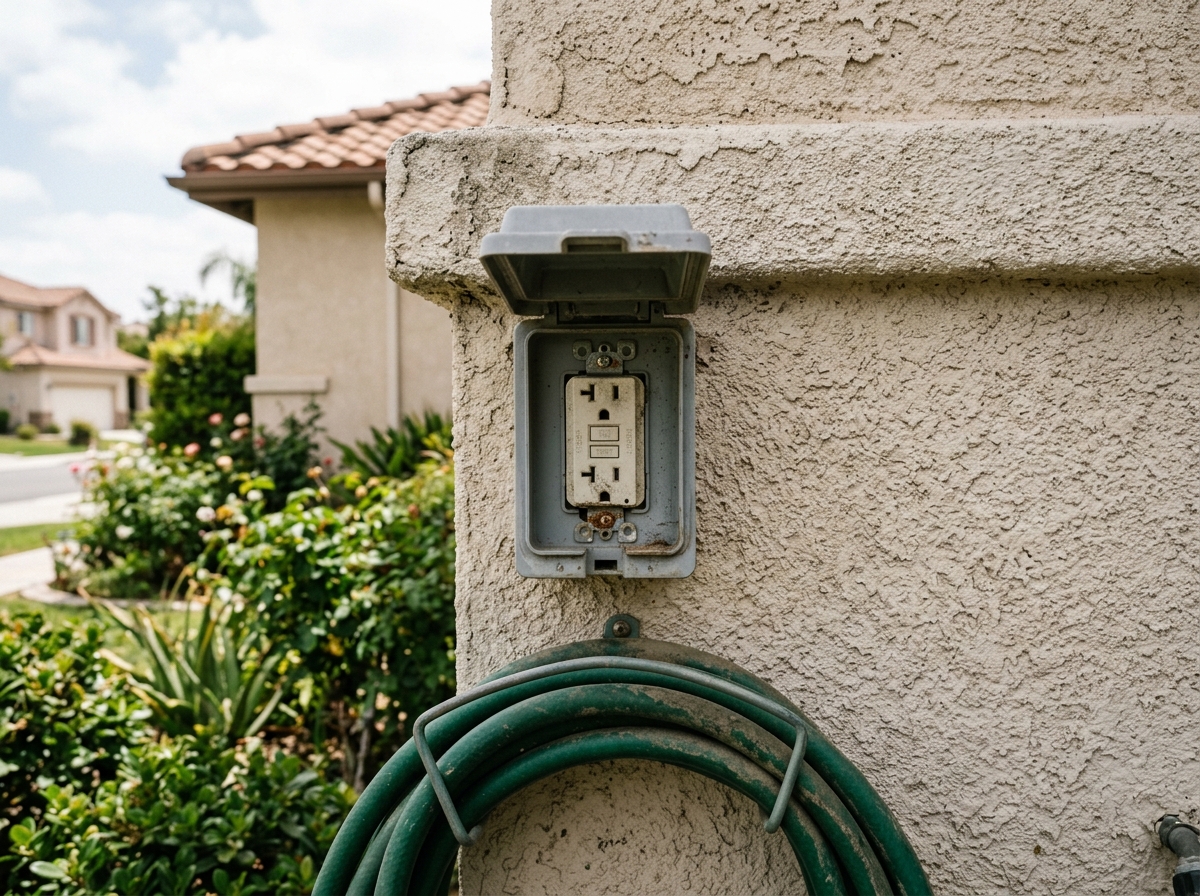
Image suggestion: a close‑up of a weathered outdoor GFCI outlet mounted on a stucco wall of a Temecula single‑family home, with a garden hose nearby.
Gather Your Tools and Observe Safety First
What you’ll need
- New GFCI outlet (match the amperage rating of the old one – typically 15 A or 20 A)
- Flat‑head and Phillips screwdrivers
- Voltage tester or a non‑contact probe
- Needle‑nose pliers (optional)
- Wire‑stripping tool (if the wires are old or frayed)
- Electrical tape
Safety checklist
- Turn off the circuit – Locate the breaker that controls the outlet and flip it to OFF. In Temecula homes built after 2000, many circuits are labeled, but double‑check with a voltage tester before touching any wires.
- Verify no power – Use the tester on the outlet’s slots; the indicator should stay off. Test both the hot and neutral slots.
- Wear insulated gloves – Even with the breaker off, a stray live wire can cause a shock if the panel is miswired.
- Keep a fire extinguisher nearby – Electrical work can spark, and a small ABC extinguisher is a handy precaution.
Having the right tools and a disciplined safety routine reduces the chance of an accidental shock and keeps the job within the scope of a homeowner’s DIY capabilities.
Removing the Old GFCI Outlet
Step‑by‑step removal
- Unscrew the cover plate – Use a flat‑head screwdriver to remove the two screws holding the metal plate in place. Set the plate aside.
- Expose the mounting screws – The outlet itself is secured by two longer screws on the sides. Loosen them with a Phillips driver; the device should pop out slightly.
- Pull the outlet away – Gently tug the outlet forward, exposing the three wires (black/hot, white/neutral, and bare/ground). If the wires are attached with screw terminals, note which screw each wire is on; a quick photo can help.
- Disconnect the wires – Loosen each screw and let the wire slip out. If the wires are clamped, press the release tab before pulling.
- Inspect the wiring – Look for any signs of corrosion, fraying, or burn marks. In older Temecula homes, you may see aluminum wiring or older romex that could benefit from a professional inspection.
Once the old device is free, you’re ready to install the new GFCI.
Installing the New GFCI Outlet
Wiring the replacement
- Identify line vs. load – Most GFCI outlets have a “LINE” label on the side that connects to the breaker and a “LOAD” side that protects downstream outlets. In a typical single‑outlet circuit, you’ll only use the LINE terminals.
- Attach the ground wire – The bare copper (or green) wire goes to the green screw. Tighten securely; a loose ground can cause nuisance tripping.
- Connect the neutral – The white wire attaches to the silver screw marked “LINE.” Ensure the wire is stripped to about ¾ inch and wrapped clockwise around the screw.
- Connect the hot – The black (or red) wire goes to the brass screw labeled “LINE.” Again, strip the insulation and wrap clockwise.
- Secure the outlet – Gently push the wired device back into the box, making sure no wires are pinched. Tighten the two mounting screws to hold the outlet firmly.
- Replace the cover plate – Screw the metal plate back on.
- Restore power and test – Flip the breaker back on. Press the “RESET” button on the GFCI; the indicator light should illuminate. Use your voltage tester to confirm the outlet is live, then press the “TEST” button; the power should cut off, confirming proper operation.
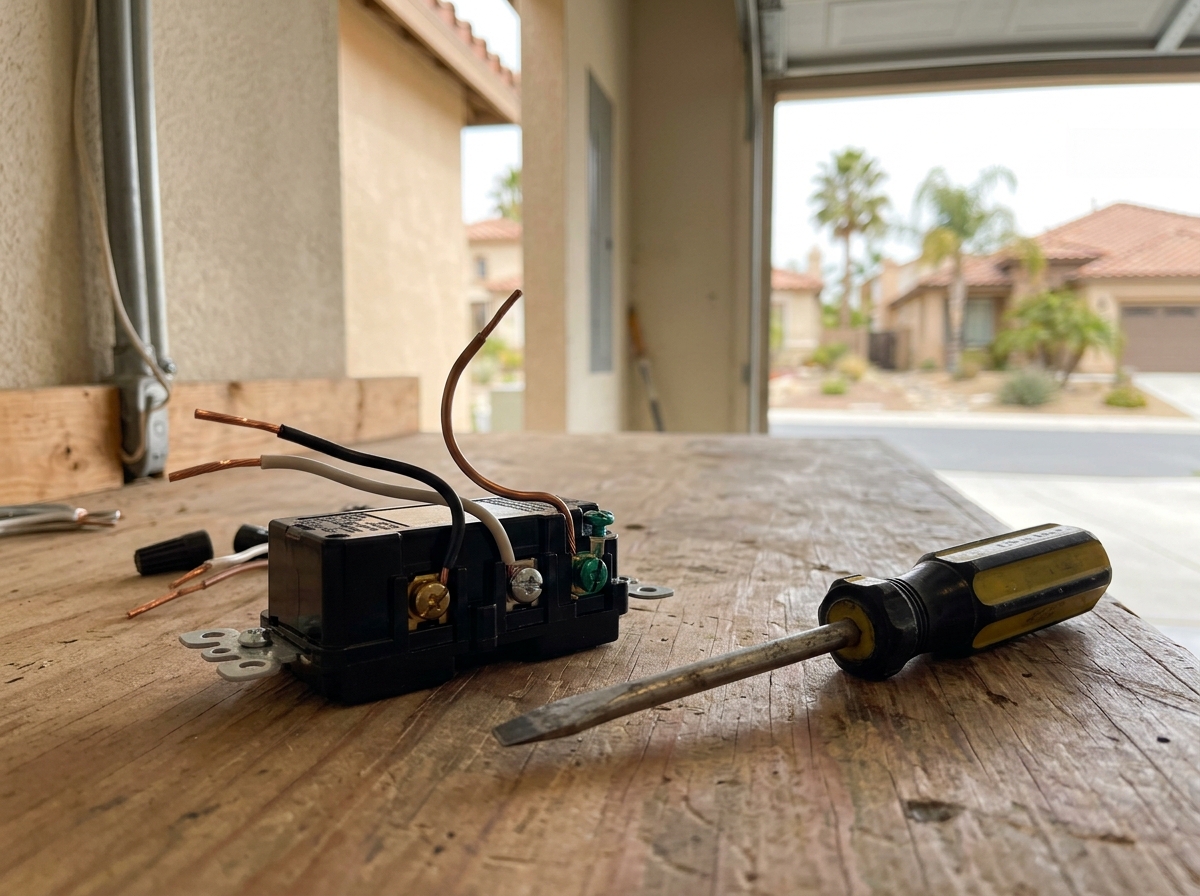
Image suggestion: a new GFCI outlet being wired, showing the back of the device with copper wires and a screwdriver on a workbench.
When to Call Marine One Property Inspections
Recognizing the limits of DIY
Even with careful work, certain scenarios merit a professional eye:
- Repeated tripping after a new GFCI is installed – could indicate a wiring fault or a hidden ground‑fault issue.
- Corroded or outdated wiring – Aluminum or very old Romex in older Temecula homes may need a full electrical assessment.
- Multiple outlets downstream – If you need to protect a series of outdoor receptacles, a licensed electrician can ensure the load side is wired correctly.
- Pool, spa, or hot tub circuits – Marine One Property Inspections offers specialized electrical and radon testing for these high‑risk areas, and we can coordinate with a licensed electrician for code‑compliant upgrades.
When in doubt, schedule a home inspection with Orlando Martinez. Our team can perform a thorough electrical review, identify any hidden hazards, and give you a clear path forward.
Take the Next Step Toward a Safer Home
If you’ve followed the steps above and the new GFCI stays reset, you’ve successfully eliminated a common electrical hazard in your Temecula home. Should anything feel uncertain—whether it’s a lingering buzz, a breaker that won’t stay off, or the desire for a comprehensive safety check—don’t hesitate to reach out. Orlando Martinez and the Marine One Property Inspections team are happy to answer questions, schedule a detailed inspection, or provide guidance on any of our services, from sewer camera scoping to pool and spa safety reviews. Your home’s health is our priority; let us help you keep it secure.